Are you interested in trying out Arch Linux but feeling unsure about the installation process? Don't worry! With the archinstall script, installing Arch Linux is easier than you might think. Follow this simple guide to set up Arch Linux on your computer effortlessly.
1. Prepare Your Computer
Make sure you have:
A computer with an internet connection
A USB drive with Arch Linux ready to boot from
Some basic knowledge of using a computer
2. Start Arch Linux
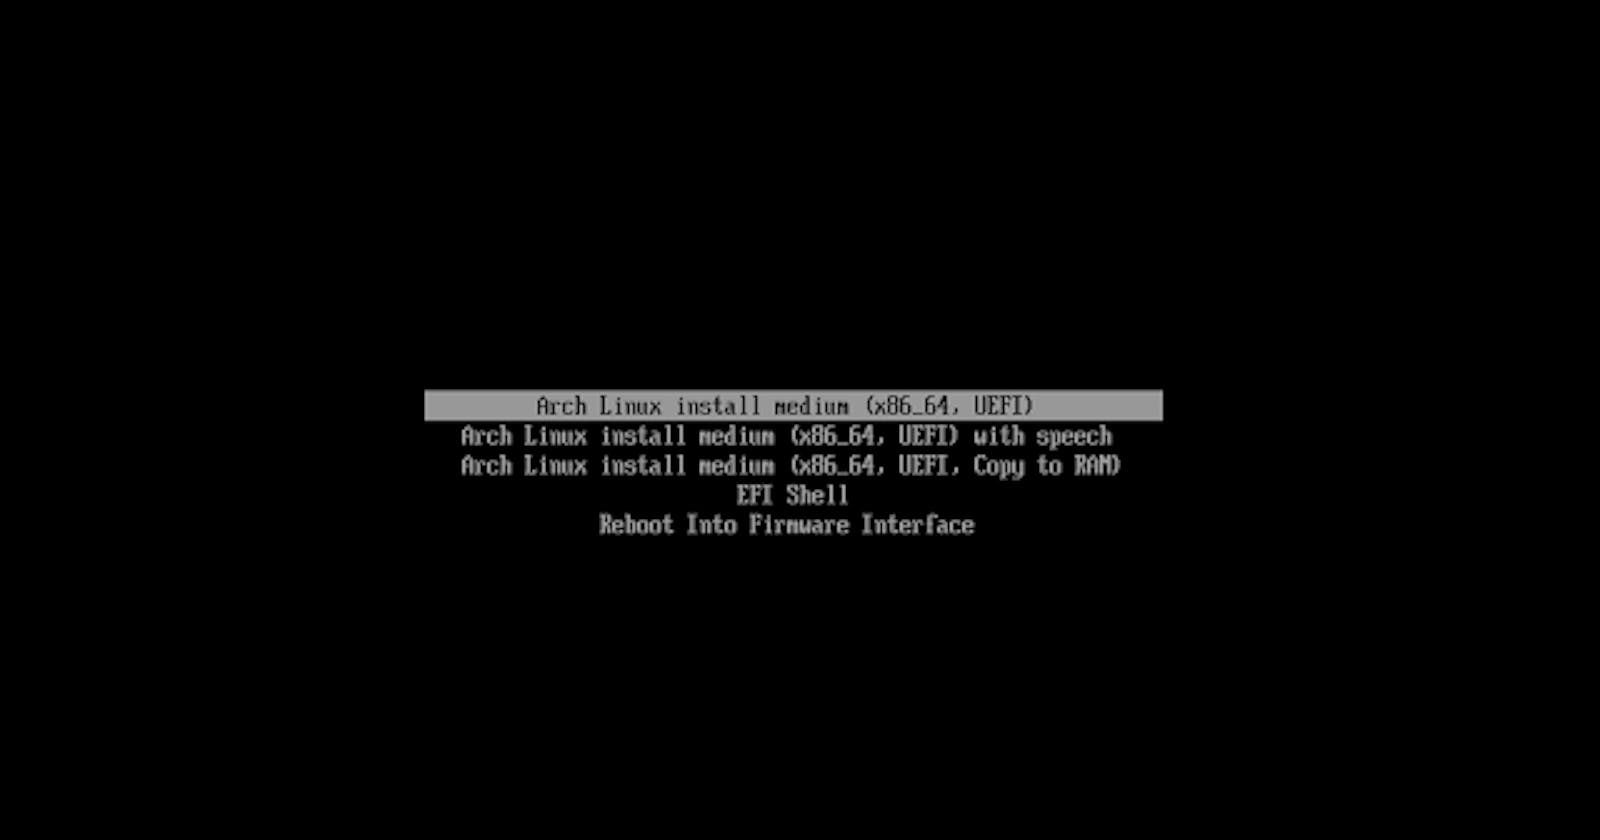
Plug in the USB drive and turn on your computer. It will boot from the USB drive, and you'll see the Arch Linux screen.
3. Connect to the Internet
Arch Linux needs the internet to install. If you're using Wi-Fi, click on the network icon and connect to your Wi-Fi network.
4. Run the archinstall Script
Open the terminal by clicking on the icon at the bottom. Type in:
archinstall
and press Enter.
5. Set Up Your Installation
Follow the instructions on the screen. You'll choose things like where to install Arch Linux, what to name your computer, and your username and password.
6. Choose Your Hard Drive
Pick the hard drive where you want to install Arch Linux. You can let the script do it automatically or choose yourself.
7. Let It Install
Once you've chosen everything, the script will start installing Arch Linux. It might take a little while, so be patient!
8. Set Up Your System
After the installation is done, the script will ask you a few more questions. Things like your timezone, language, and network settings.
9. Install the Boot Loader
Choose a boot loader to make sure your computer can start Arch Linux properly. The script will help you install it.
10. Finish Up
Check that everything looks good on the summary screen. If it does, go ahead and confirm to finish the installation.
11. Restart Your Computer
Once everything is done, take out the USB drive and restart your computer. You'll now have Arch Linux ready to go!
That's it! You've successfully installed Arch Linux using the archinstall script. Enjoy exploring the world of Arch Linux and customizing your system to your heart's content. Happy computing!
